
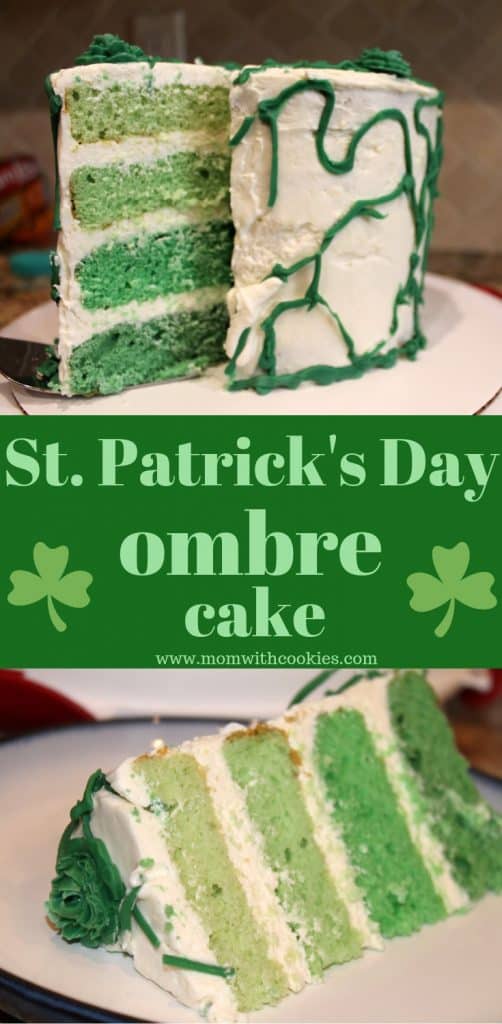
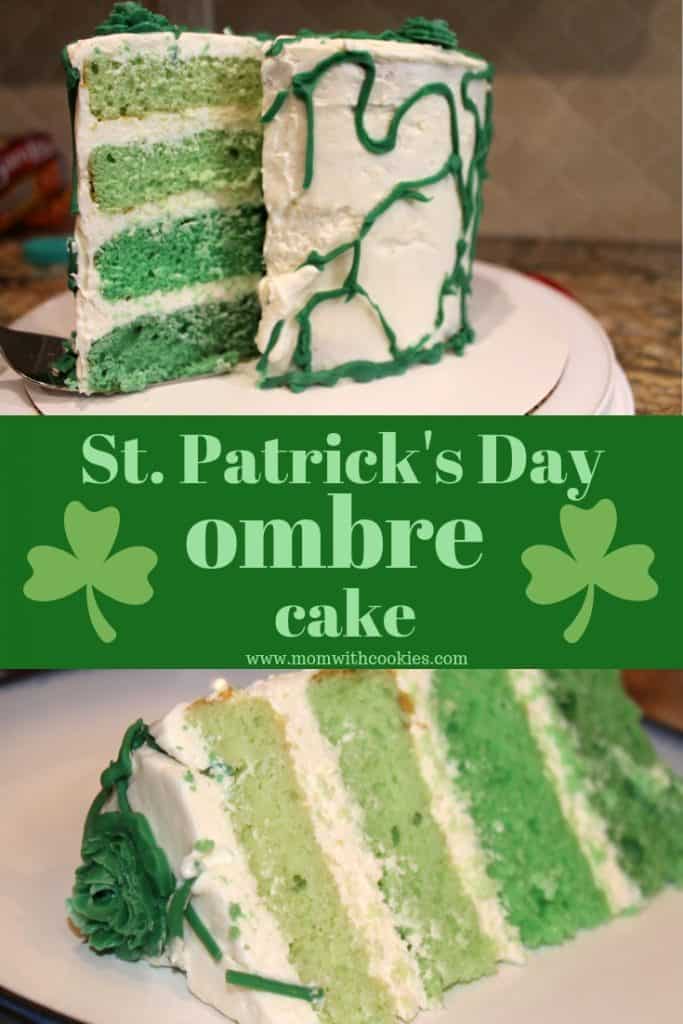
St. Patricks Day Ombre Cake
Have you ever wanted to make an ombre cake? If so, this green St. Patricks Day cake is a fun one that your whole family will enjoy.
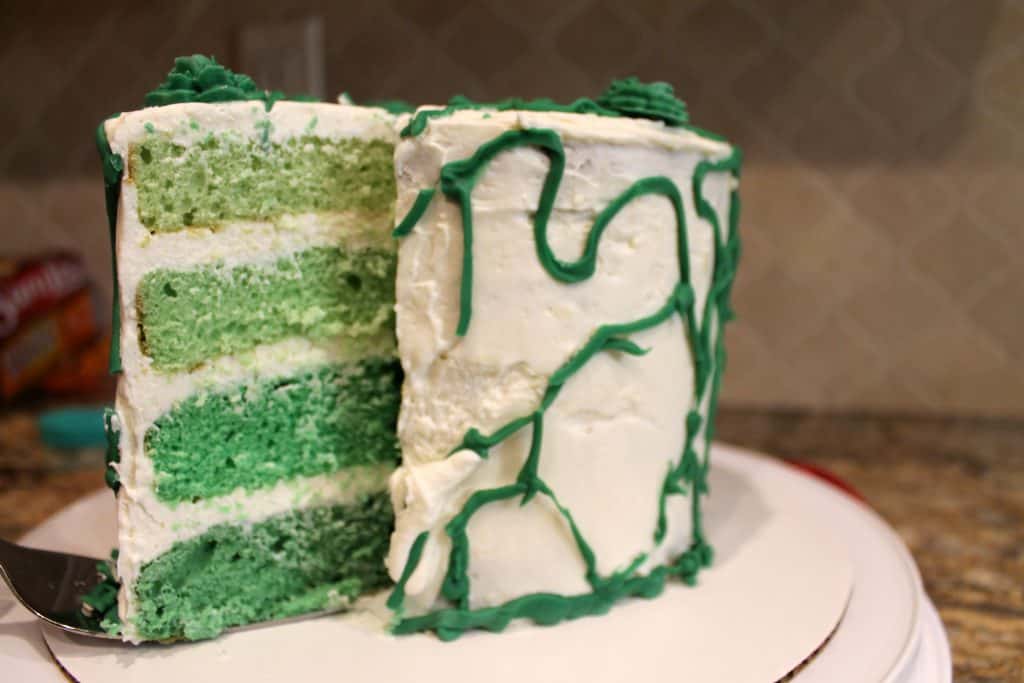
This 4 layer ombre cake was made with a boxed cake mix. You can find a few box cake mix hacks on how to make your cake taste like it came from a bakery.
In an effort to fully disclose, this article contains affiliate links for products I use. If you purchase something, I would receive a comission. For more information, see my disclosure page.
Green Ombre Cake Decorating Supplies
Now before we begin on the tutorial, here are the supplies you will need:
- 1 box cake mix, prepared
- leaf green food coloring

- wilton 6 inch circular cake pan (4-pack)
- ½ inch rounded icing tip
- 2 piping bags or large ziploc bags
- Offset Icing Spatula
- whipped cream frosting from Baking A Moment
Green St. Patricks Day Ombre Cake Decorating tutorial
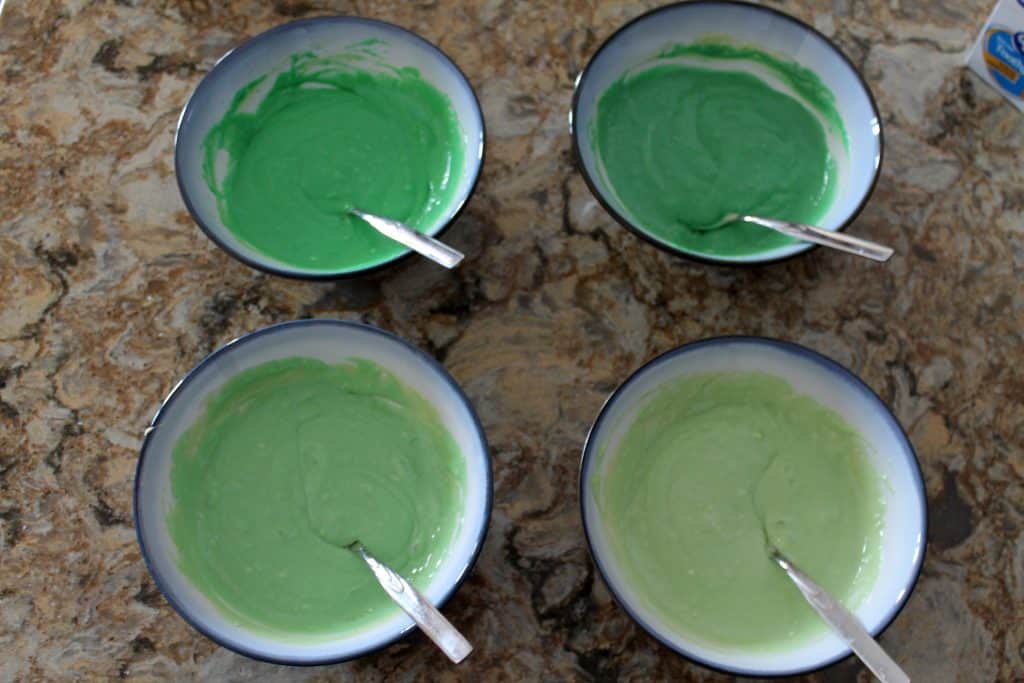
When you have the cake mix batter prepared, divide it evenly into 4 bowls.
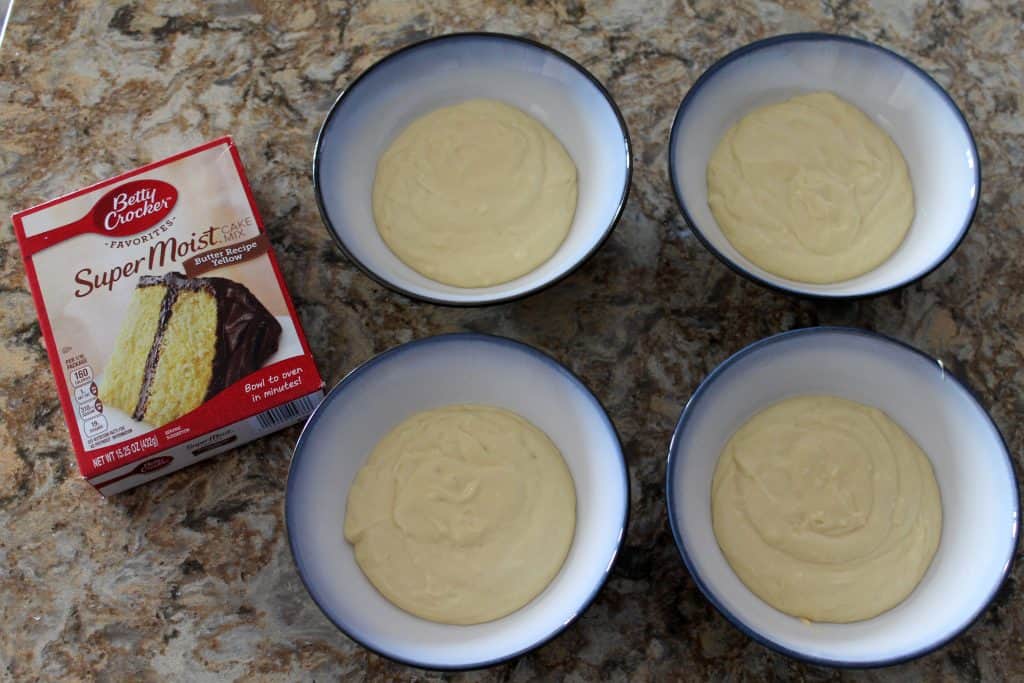
Then you will add in green food coloring. Start with one bowl at a time so that you can adjust how many drops for the gradient color effect.
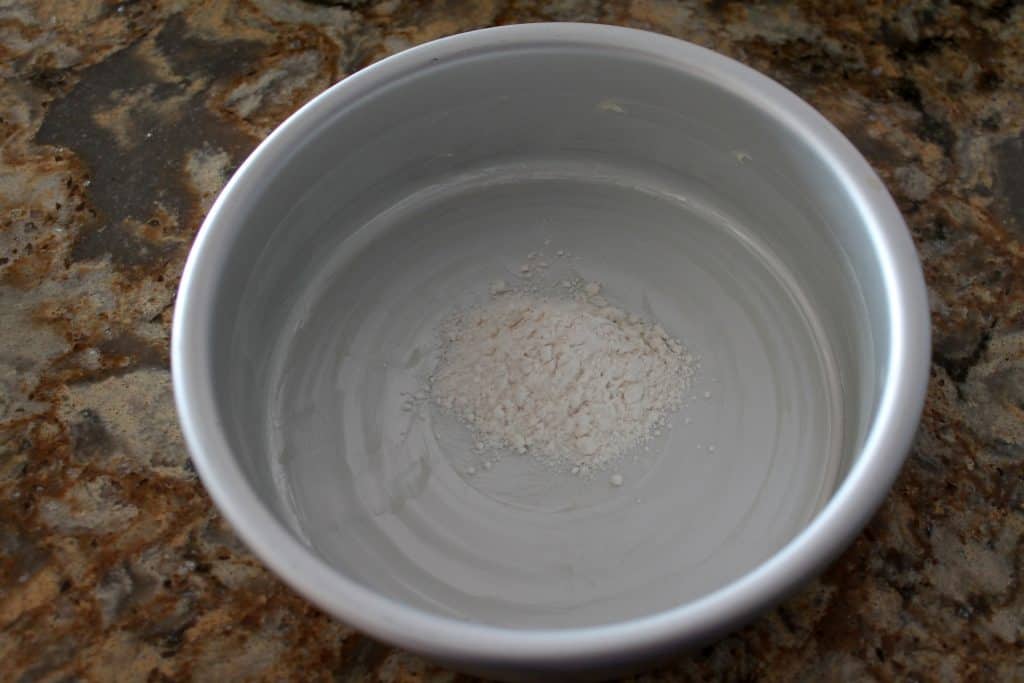
Then you will butter the bottom and all around the edges of these Wilton 6 inch circle cake pans. Then flour them. This helps the cake from sticking.
Lightly tap the pan until the flour is coated onto the bottom and edges where the butter is. Then pour in your batter. You will cook each bowl of batter separately which will give you 4 6 inch cakes. Bake them at 350 for 20 minutes. Let them cool before assembling the cake.
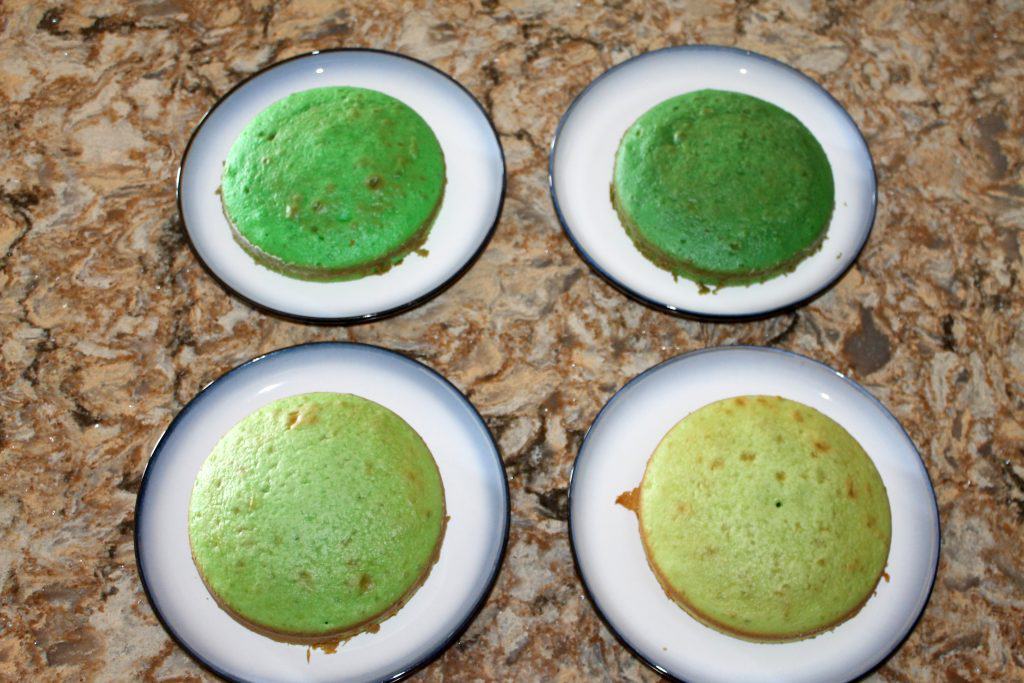
Then, you will want to make sure each cake has a flat top. This helps keep your cakes stable as you add each layer. You can use a wilton cake flattener or a serated knife and carefully cut any rounded top of the cake.
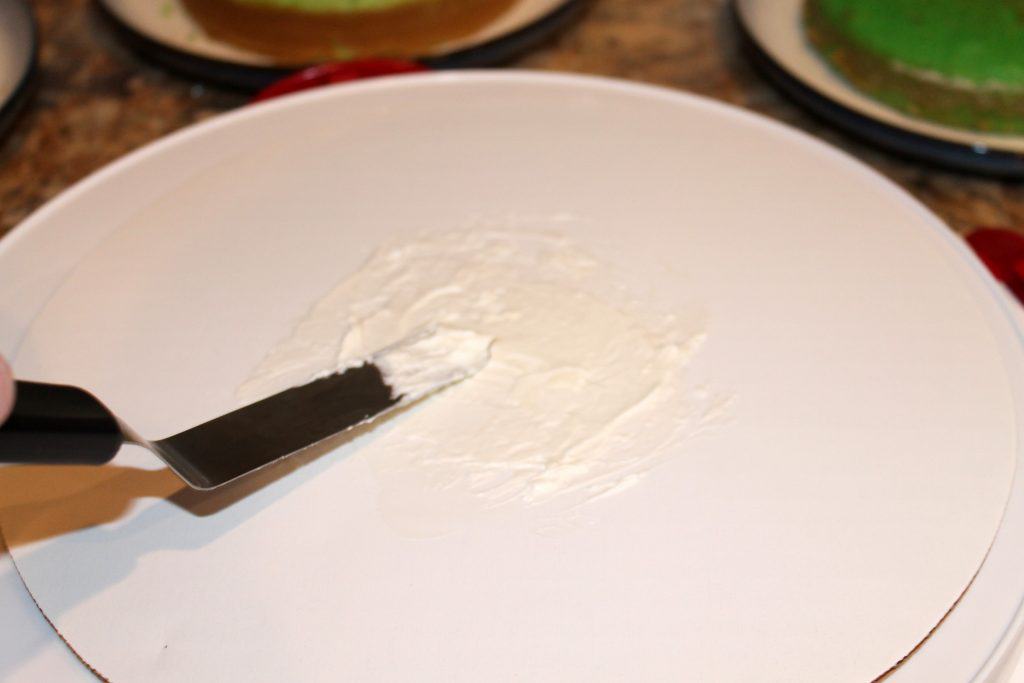
Using your favorite icing, I like Baking A Moment's whipped cream frosting, spread a little onto the center of the cake circle. This helps keep your cake from slipping and sliding.
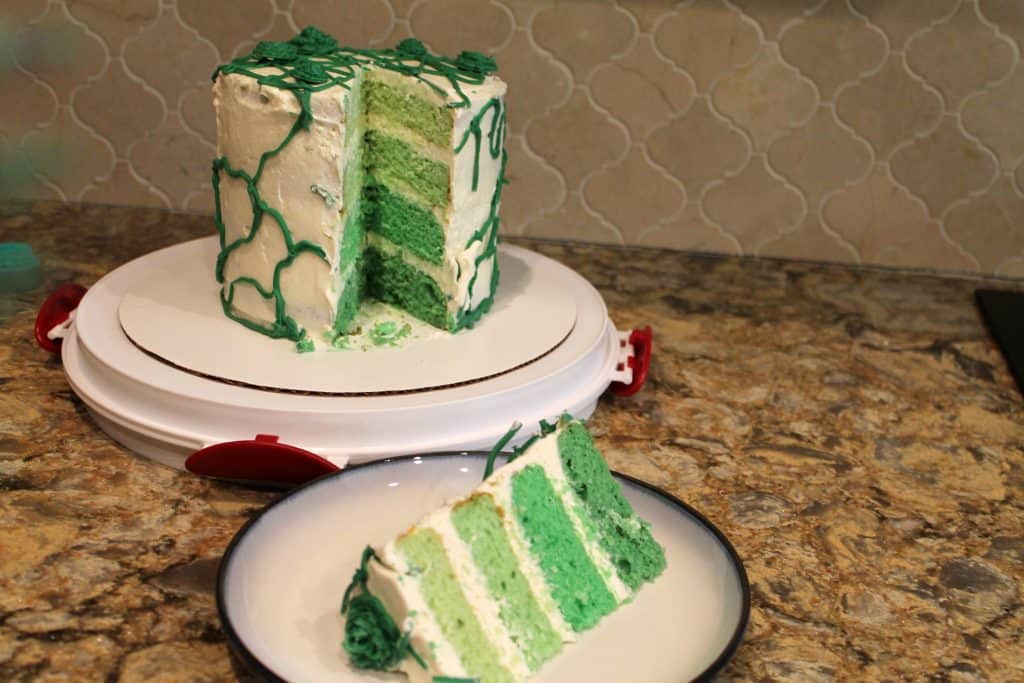
Then, place the darkest green shade of your ombre cake onto the bottom. Pipe some frosting onto the top of the cake. Then continue this all the way up with each additional shade of green.

Then, you will cover the outside of the cake with a light coating of the frosting. This is called the crumb coat because as you do this some crumbs from the cake might mix with the frosting.
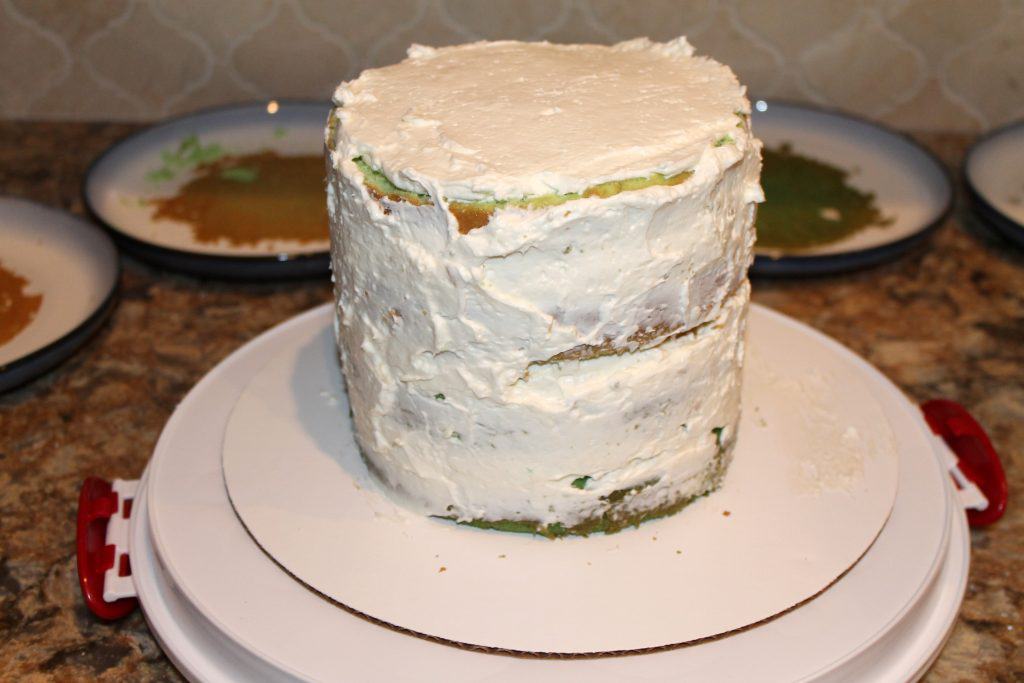
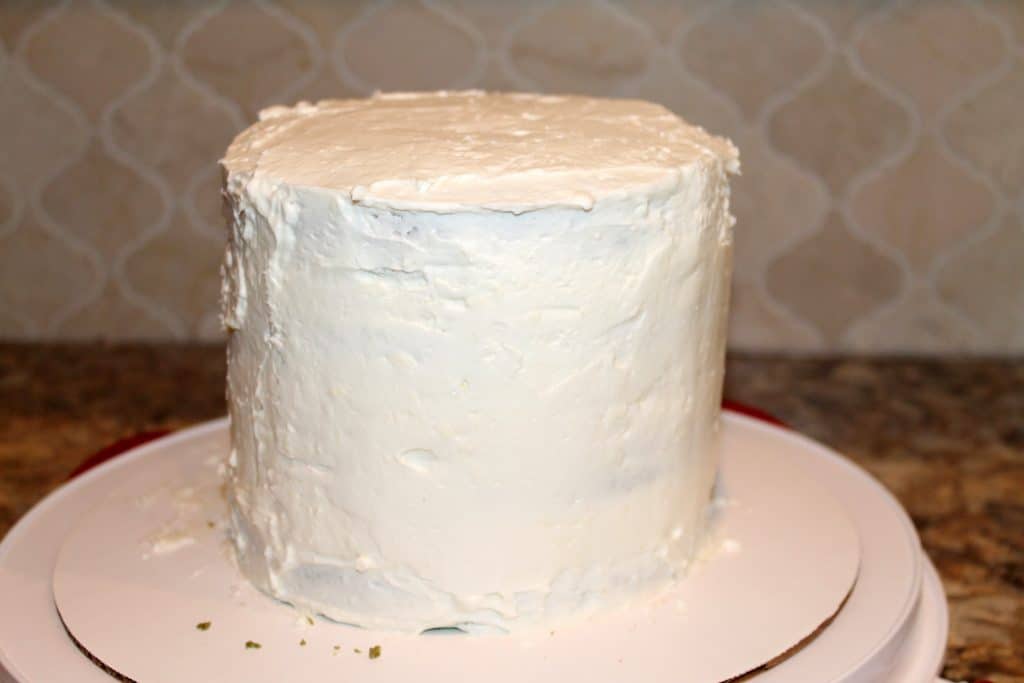
Then, carefully place this in the freezer for 5 minutes. This will help the frosting get hard and no more crumbs should hopefully come loose. Then, you can add on the final layer making sure to even up any bumps of divets.
It doesn't have to be perfect as you are going to pipe some melted green candy melt on top. Add ½ cup green candy melt to a piping bag, but don't cut the end off. Then, submerge it into hot water until it is a liquidy consistency. Then, cut a small hole to pipe the candy melt all over the cake.
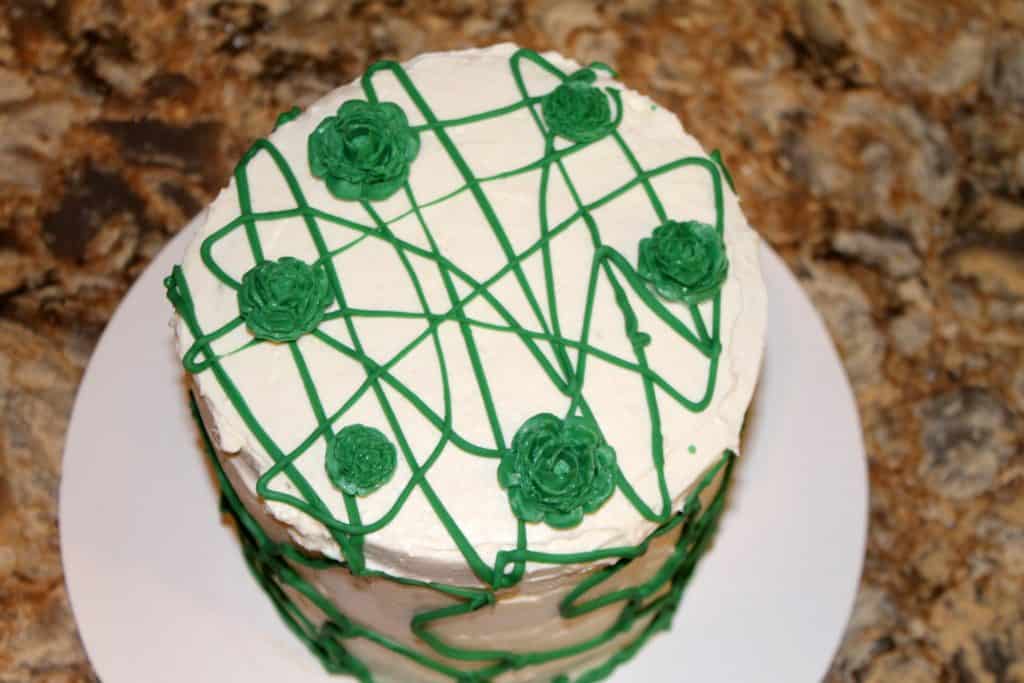
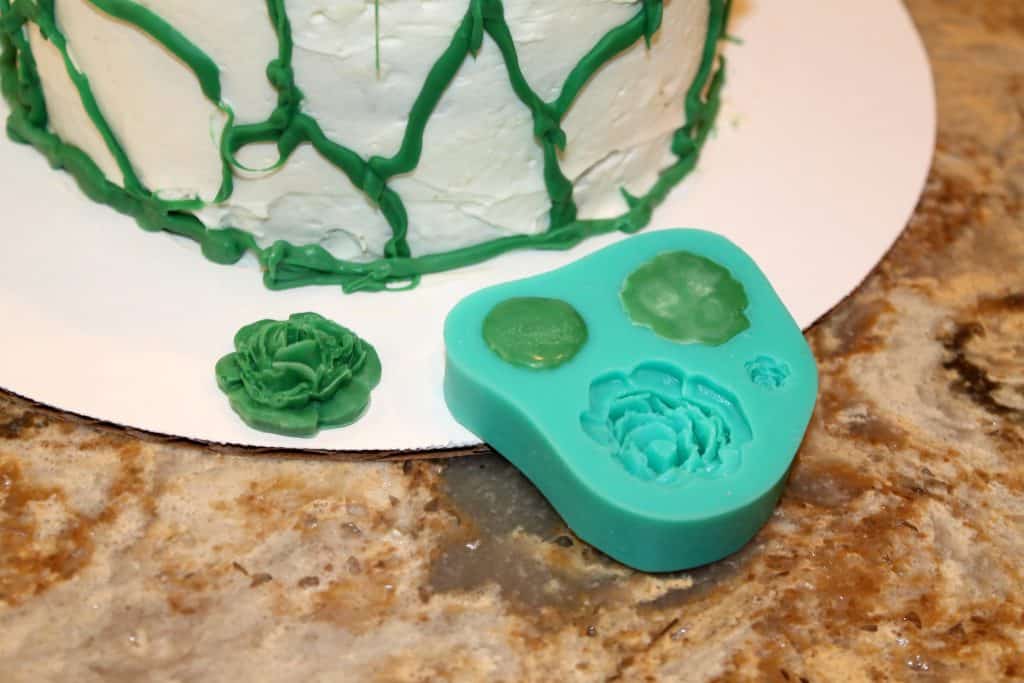
I also took some of my melted candy melt and piped them into this silicone rose mold on Amazon![]() . Then, stick the mold in the refrigerator for a couple minutes. You can then carefully peel back the mold and are left with these elegant green candy roses!
. Then, stick the mold in the refrigerator for a couple minutes. You can then carefully peel back the mold and are left with these elegant green candy roses!
That's really all there is to it! This green ombre cake is sure to impress everyone. From the cute little candy roses, to the 4 layer green ombre cake as you slice into it.
Thanks for stopping by! If you enjoyed reading and learning how to decorate this cake, remember to share it on Pinterest. Thanks!!
Leave a Reply