
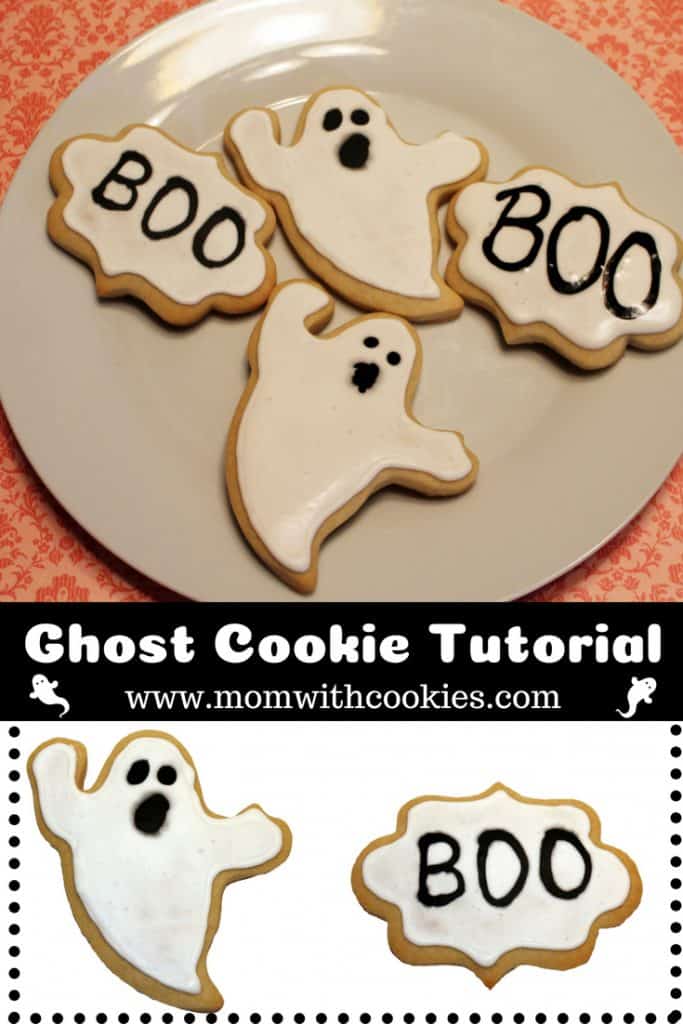
Cookie Decorating: Ghost cookies
Halloween cookies are a great way to celebrate! These ghost cookies are frighteningly delicious and perfect for any spooky get-together. Read more to learn how to do it!
In an effort to fully disclose, this tutorial does contain affiliate links which means if you purchase anything I would receive a commission. It does not affect the price whatsoever. For more information, see my Disclosure/Advertising page.
Now back to the ghost cookies tutorial!
Here's what you will need:
- Ghost shaped sugar cookies
- White Royal Icing
- Black Royal Icing
- 2 piping bags or ziploc bags (outlining)
- 2 cookie decorating bottles

- toothpicks
Ghost Cookies Tutorial
The first step in making these cookies is to bake ghost shaped sugar cookies. This is my recipe for the best sugar cookies to decorate.
Now, the secret to baking cookies that don't lose their shape is to freeze the cookies right before you bake them!
After you have all of your cookies baked, the next step is the royal icing. You can either make your own using these measurements for each color:
2 cups powdered sugar
2 ½ tablespoon meringue powder
¼ cup water
food coloring (for desired colors)
or you can purchase this royal icing from Amazon![]() where all you have to do is add water. I would strongly suggest doing this for the black royal icing
where all you have to do is add water. I would strongly suggest doing this for the black royal icing![]() , because black is a hard color to achieve with just the food coloring. (It can be done, but you will need a lot of black food gel, brown food gel, and PATIENCE!
, because black is a hard color to achieve with just the food coloring. (It can be done, but you will need a lot of black food gel, brown food gel, and PATIENCE!
When you have all the colors made, you are going to want to split each icing in half and scoop half of the royal icing into a piping bag or ziploc bag.
The other half you will add just a little bit more water so that it is thinner (flooding consistency). I have a picture below to help you reference between piping consistency(left) vs flooding consistency (right).
Please disregard the color of this icing, as you won't need orange, but this picture is merely for reference!
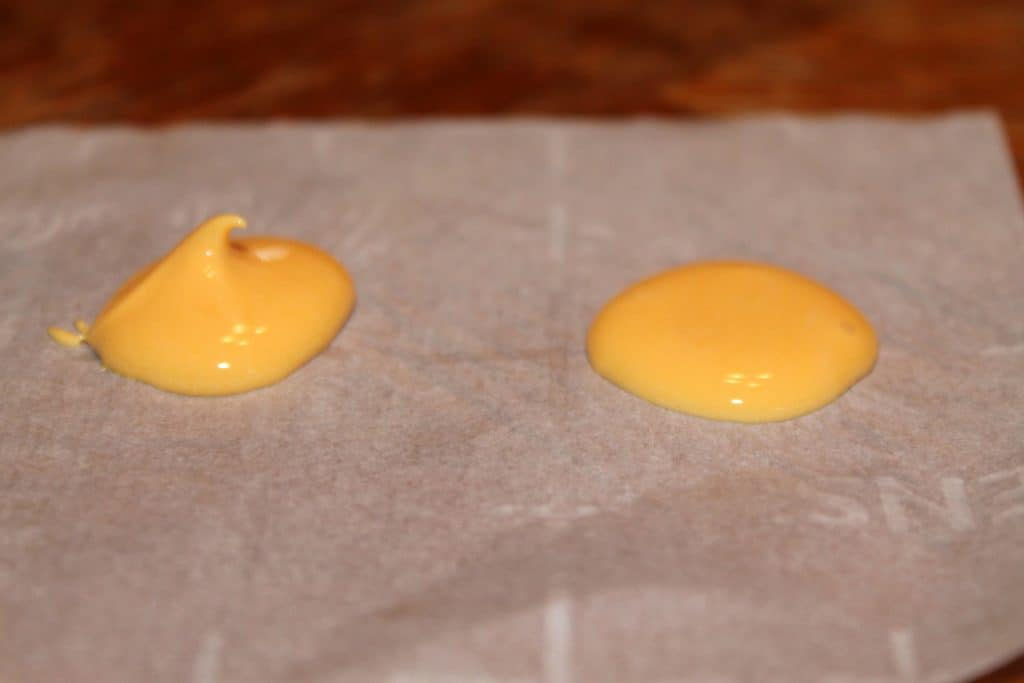
As you can see the piping consistency royal icing holds a peak, where the flooding consistency is liquid but still thick like elmer's glue.
Put each flooding consistency royal icing into the cookie decorating bottles![]() . Make sure to cover the excess royal icing with plastic wrap and store it in the refrigerator until you need more.
. Make sure to cover the excess royal icing with plastic wrap and store it in the refrigerator until you need more.
On to the decorating:
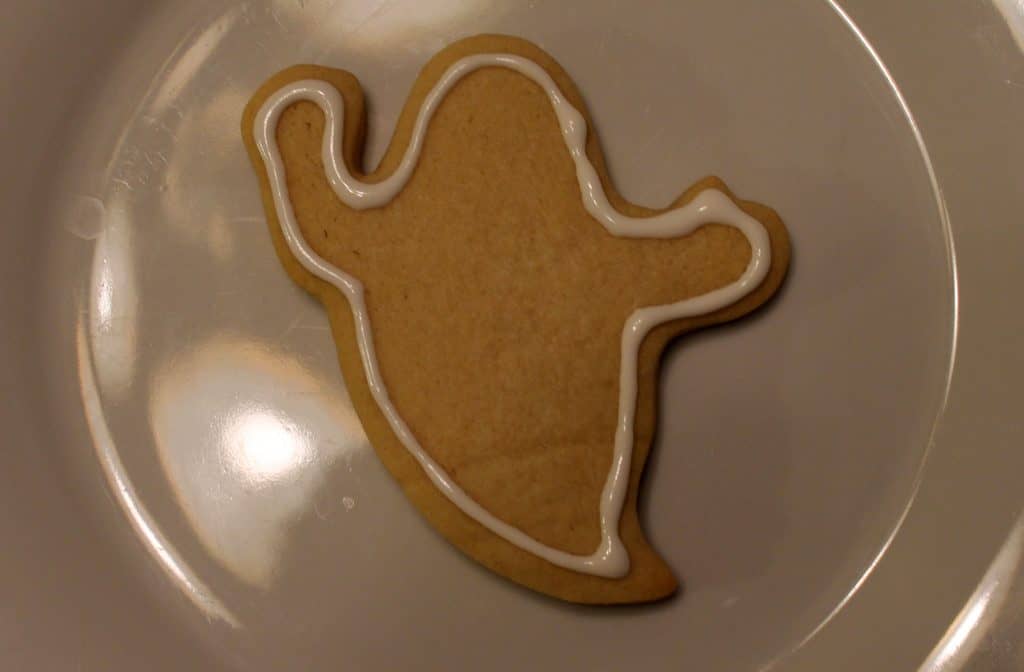
With the white icing in the piping bag, outline the ghost cookies.
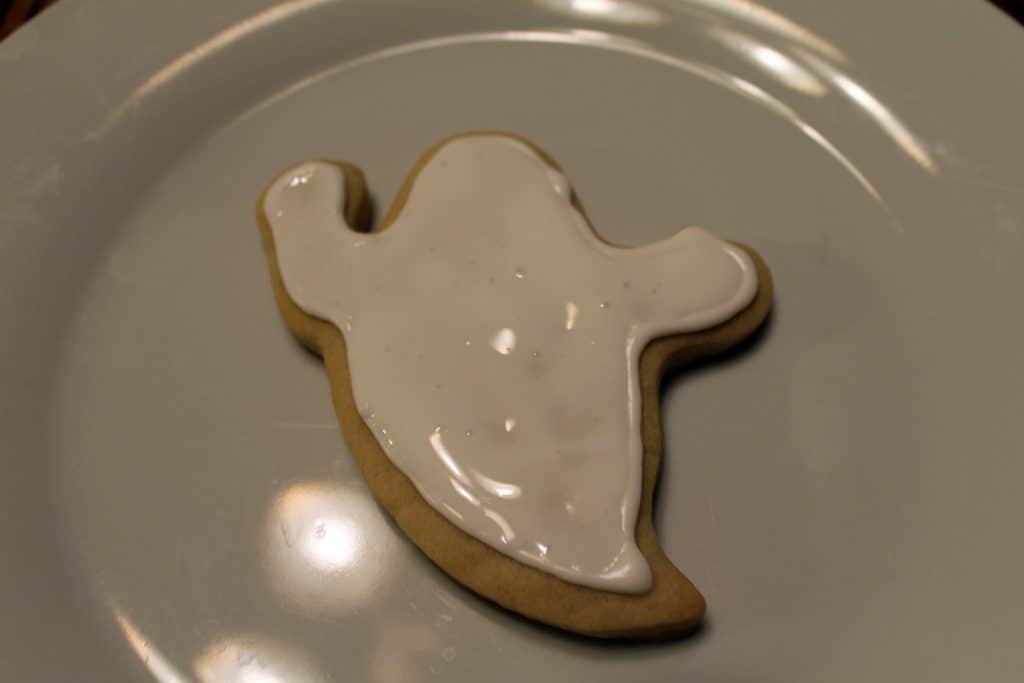
The next step is to grab your cookie decorating bottle filled with white icing and fill in the ghost cookies. What I do is sqeeze some of the icing and and swirl to help push the icing around, using the tip of the bottle to spread as well.
Toothpicks can also be used to help spread the icing thoroughly around.
While the white royal icing is still wet, grab the cookie decorating bottle with black icing and draw out the eyes and mouth of the ghost. It is important to make sure that the white icing is still wet, so I would reccommend filling one cookie in with the white then immediately drawing the eyes and mouth in.
Then, move on to the next cookie.
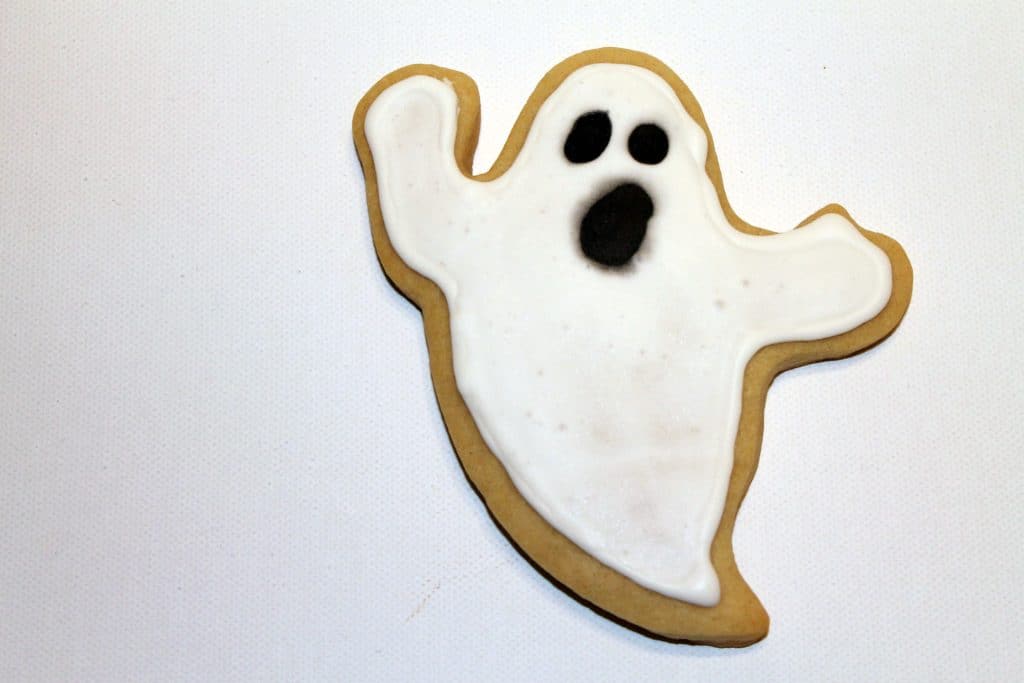
The icing will harden as it sits out, so let the cookies set for awhile and you will notice the glossy sheen of the icing will turn matte when they are dried. Voila! Your scary ghost cookies are ready to eat!
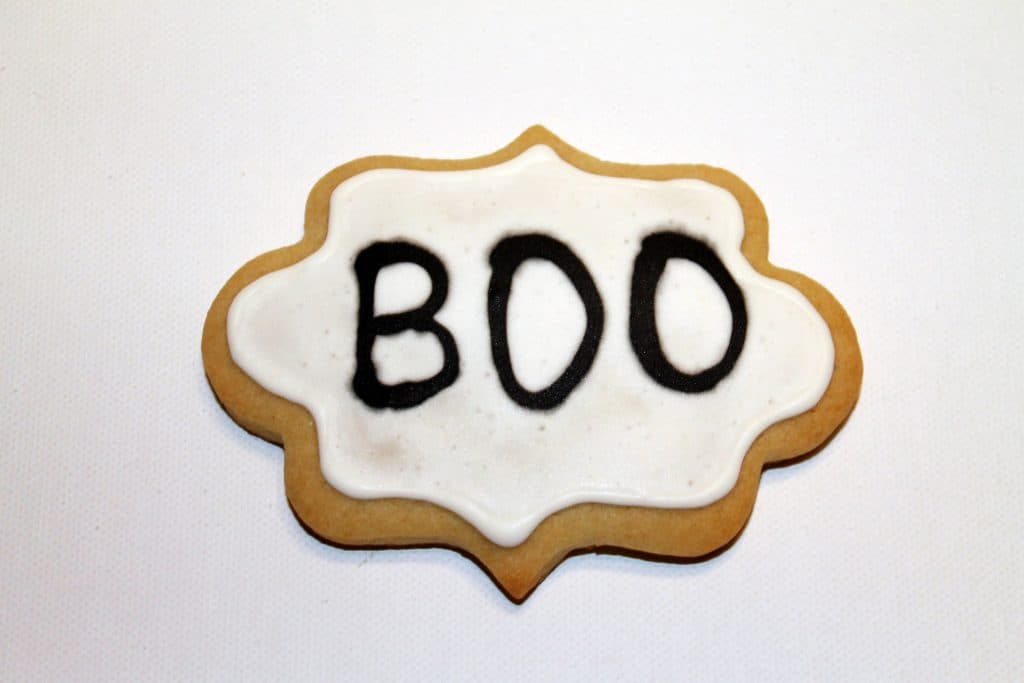
"BOO" Cookies Tutorial
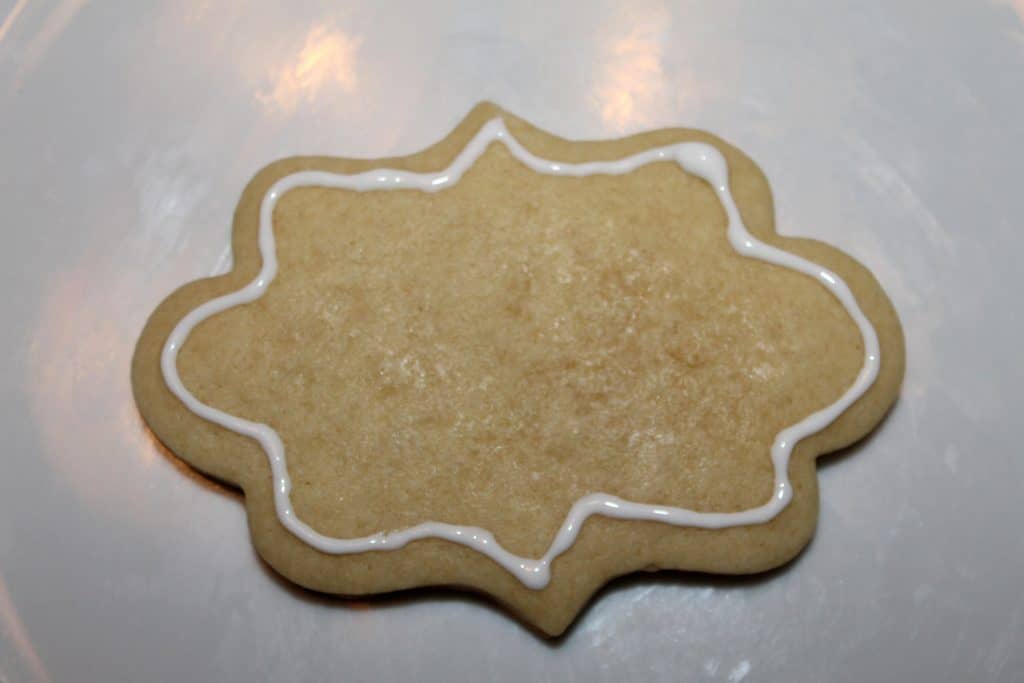
Again, with the white icing in the piping bag, outline the cookies.
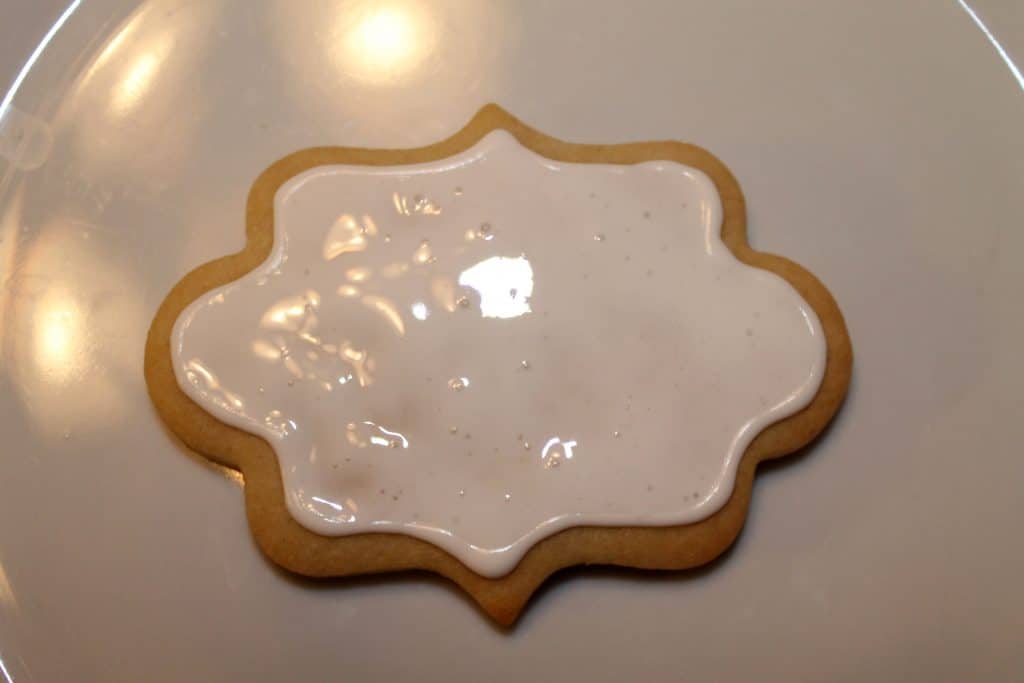
The next step is to grab your cookie decorating bottle filled with white icing and fill in the cookies. What I do is sqeeze some of the icing and and swirl to help push the icing around, using the tip of the bottle to spread as well. Toothpicks can also be used to help spread the icing thoroughly around.
While the white royal icing is still wet, grab the piping bag with black icing and write out the letters B-O-O. It is important to make sure that the white icing is still wet, so I would recommend filling one cookie in with the white then immediately writing the letters.
Then, move on to the next cookie.
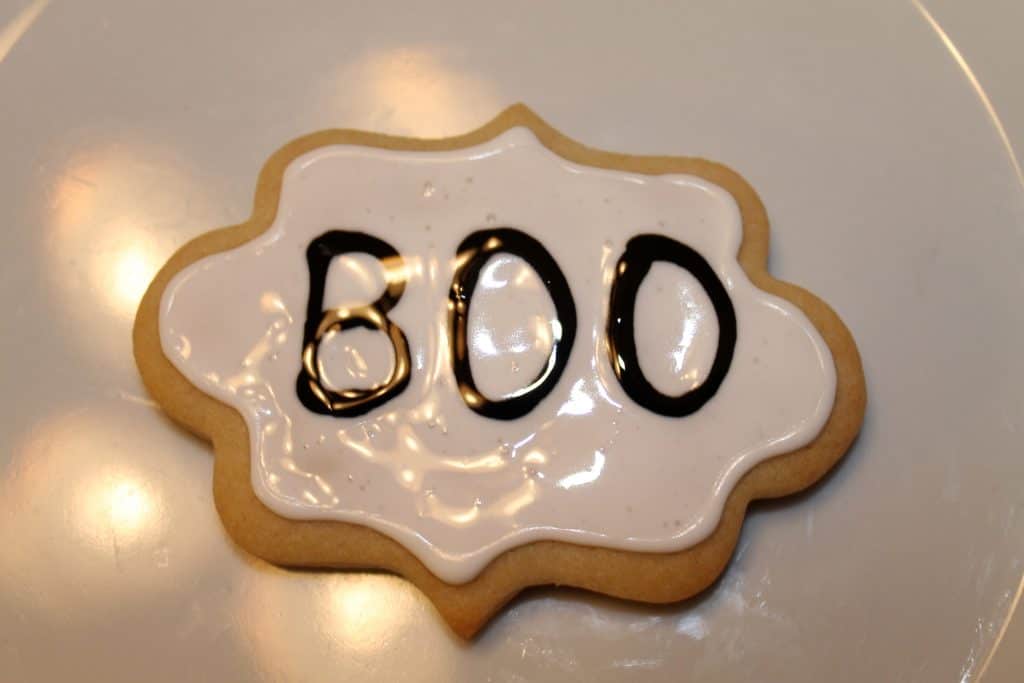
The icing will harden as it sits out, so let the cookies set for awhile and you will notice the glossy sheen of the icing will turn matte when they are dried. Voila! Your scary BOO cookies are ready to eat!
Make sure to let me know how yours turned out in the comments below, and also pin this article so you can refer back to it again and again.
Leave a Reply